A Family Run Business
January 9, 2024
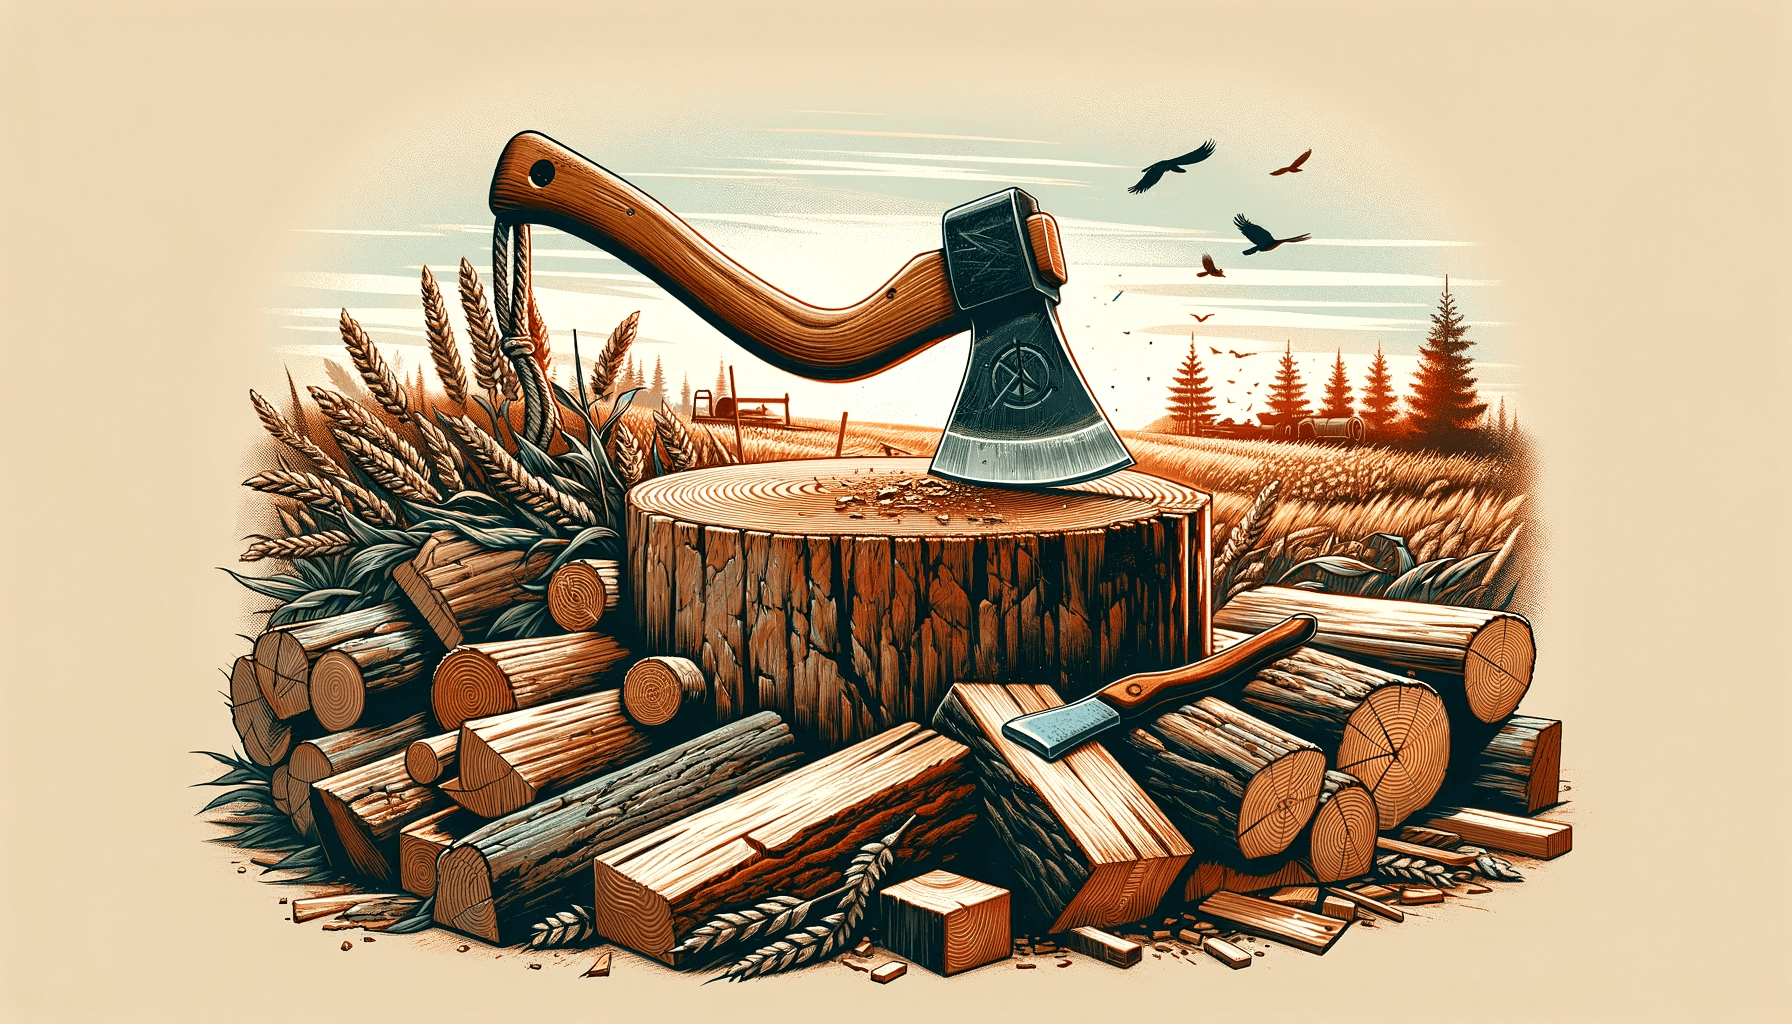
Splitting Logs - A Comprehensive Guide
The Essential Art of Splitting Logs
For homeowners and wood-burning enthusiasts across the UK, understanding the art of splitting logs is pivotal to efficient wood burning. Whether it's for a cosy fireplace in a rural cottage or a wood burner in a suburban home, the way you prepare your firewood can significantly impact its burning efficiency and heat output.
Splitting logs is much more than just a preparatory step; it's a process that enhances the wood's ability to burn effectively. When wood is split, it increases the surface area exposed to air, speeding up the drying process and reducing the wood's moisture content. This is crucial, as the UK's often damp climate can significantly impede the natural drying of wood. J&H Logs, a renowned provider of quality firewood in the UK, emphasises that well-split logs are key to achieving a cleaner, hotter, and more sustainable burn.
Moreover, split logs catch fire more easily and burn more evenly than whole logs, providing a more consistent heat source. This not only makes for a more enjoyable fire but also improves the efficiency of your wood-burning appliance, be it an open fire or a modern stove. Efficient burning is not only beneficial for heat output but also plays a role in reducing smoke emissions, which is important for both environmental and health reasons.
Setting the context for UK homeowners, especially those in regions where wood burning is a significant source of heat, this guide aims to delve into the various aspects of log splitting. From the timing and techniques to safety and storage, each element plays a crucial role in preparing your firewood for optimal use. Understanding these nuances can transform your wood-burning experience, ensuring that each log you burn delivers the maximum possible warmth and comfort.
Why Split Logs?
Understanding the reasons behind splitting logs is key for anyone using firewood in the UK. Splitting logs isn't just a traditional wood preparation method; it has several tangible benefits that enhance the overall efficiency and experience of wood burning.
Improved Drying
- Faster Seasoning: Splitting logs increases their surface area, which accelerates the drying or seasoning process by exposing more wood to the air. This is particularly important in the UK's damp climate, where reducing moisture content is crucial.
- Consistent Drying: Split logs dry more evenly than whole logs. Even drying helps prevent the wood from rotting or developing mould, which can occur when the outer layer dries faster than the inner core in whole logs.
Better Burning Efficiency
- Higher Heat Output: Dry, split logs burn more efficiently, producing more heat. The reduced moisture content means less energy is spent evaporating water, and more is converted into heat.
- Cleaner Burn: Well-seasoned, split logs produce less smoke and fewer pollutants when burned. This results in a cleaner burn, which is better for the environment and reduces the buildup of soot and creosote in your chimney or stove.
- Easier Ignition: Split logs catch fire more easily compared to whole logs, making starting a fire less of a hassle.
Easier Handling and Storage
- Size Management: Splitting logs allows you to tailor their size to your specific needs, ensuring they fit in your stove, fireplace, or fire pit.
- Convenient Storage: Split logs are easier to stack and store. They can be neatly organised in your wood store or shed, optimising space and ensuring stability.
- Portability: Smaller, split logs are easier to handle and transport, whether moving them from your wood store to your house or rearranging them to aid further drying.
In summary, splitting logs is an essential practice for efficient wood burning in the UK. It not only ensures that your firewood is properly seasoned and burns effectively but also makes handling and storage more manageable. By investing time in splitting your logs, you enhance their burning qualities, contributing to a more efficient, cleaner, and enjoyable fire.
When to Split Logs
Timing is crucial in the process of splitting logs, especially in the UK where the weather can greatly influence the seasoning process. Knowing when to split your logs can significantly impact their quality and readiness for burning. Here's some guidance on the best time to split logs:
Considering Wood Type
- Hardwoods vs Softwoods: Hardwoods like oak and ash are denser and generally take longer to season. Splitting these soon after felling gives them more time to dry. Softwoods, being less dense, can be split a bit later but still require enough time to season properly.
Factoring in Seasoning Time
- Seasonal Timing: The best time to split logs is typically in late winter or early spring. This timing allows the wood to dry over the summer months, making use of the warmer and drier weather.
- Planning Ahead: Aim to split logs at least six months to a year before you plan to burn them. This ensures they have ample time to season, especially for hardwoods which may require longer.
Weather Conditions in the UK
- Making Use of Dry Periods: The UK weather can be unpredictable, so it's wise to take advantage of dry spells to split and stack your logs. Drier conditions will expedite the drying process.
- Avoiding Wet Seasons: Try to avoid splitting logs during wet seasons as the increased moisture in the air can slow down the drying process. If you must split during a wetter time, ensure the logs are stored properly to protect them from the elements.
Additional Considerations
- Freshness of the Wood: It's generally easier to split wood when it's fresh as the moisture content makes it less likely to splinter. Over time, wood can become harder and more challenging to split.
- Storage Capacity: Consider your storage space. If you have limited space, you might need to split and store wood in batches.
In conclusion, the best time to split logs in the UK is when they are fresh, preferably in late winter or early spring, to maximise the drying potential during the summer months. Taking into account the type of wood, the required seasoning time, and the prevailing weather conditions, will ensure that your logs are well-seasoned and ready to provide optimal heat when burned.
Where to Split Logs
Choosing the right location for splitting logs is as important as knowing when and how to do it. The right spot ensures safety, convenience, and minimal environmental impact. Here are some tips for UK homeowners on selecting the best location for splitting logs:
Safety First
- Stable Ground: Choose a flat and stable area to prevent the logs or your splitting tools from rolling or slipping. Uneven ground can increase the risk of accidents.
- Clear Area: Ensure the space around your splitting area is clear of obstacles. You need ample room to swing your splitting tool without risk of hitting anything or anyone.
- Distance from Property and People: Set up your splitting area a safe distance from your house and any outdoor areas frequented by people, especially children and pets, to avoid accidents.
Convenience of Access
- Proximity to Wood Store: Ideally, split logs close to where you will store them. This reduces the effort needed to transport the logs once split.
- Vehicle Access: If you get your logs delivered, consider a location that is easily accessible by vehicle to minimise the distance you need to carry the logs.
Environmental Considerations
- Surface Protection: Splitting logs on grass can damage the turf. Consider using a chopping block or a designated hard surface like concrete or gravel, which can withstand the impact and weight.
- Noise Level: Be mindful of the noise generated by splitting logs, especially in residential areas. Try to choose a spot that minimises disturbance to your neighbours.
Work Efficiency
- Organised Space: Having a well-organised space can make the task more efficient. Consider setting up different zones for unsplit logs, the splitting area, and where split logs will be stacked.
- Sheltered Area: In unpredictable UK weather, a sheltered area can allow you to split logs even during light rain, ensuring your wood-preparation schedule isn't too disrupted by weather conditions.
Additional Tips
- Sunlight Exposure: While not crucial, a sunny spot can be more pleasant to work in and can help any damp logs dry out a bit during the splitting process.
- Rotational Use: If possible, rotate the location of your splitting area each year if it's on grass to prevent one area from becoming overly compacted or worn out.
In summary, the ideal location for splitting logs is a balance of safety, convenience, and environmental mindfulness. A well-chosen spot not only makes the task of splitting logs safer and easier but also helps in maintaining the aesthetics and health of your outdoor space.
Safety in Log Splitting
Log splitting, while a necessary task for wood-burning homeowners in the UK, involves significant risk if not done properly. Adhering to safety guidelines and using appropriate protective gear are paramount to prevent injuries. Here are essential safety tips and best practices:
Essential Protective Gear
- Safety Goggles: Protect your eyes from flying wood chips and debris.
- Gloves: Wear sturdy gloves to protect your hands from splinters and blisters and to improve grip.
- Sturdy Footwear: Use boots with a steel toe cap to protect your feet and ensure good grip and stability.
- Ear Protection: If you're using a mechanical log splitter, ear protection is necessary to safeguard against prolonged exposure to noise.
Safe Splitting Techniques
- Proper Tool Handling: Always use the splitting axe or maul correctly. Keep your hands away from the blade and ensure a secure grip.
- Body Positioning: Stand with your feet shoulder-width apart for stability. When swinging the axe, use your legs and hips to generate force, not just your back and shoulders, to avoid strain injuries.
- Focus on the Task: Never split logs when you’re tired or distracted. Losing focus can lead to serious accidents.
Maintaining a Safe Environment
- Clear Workspace: Keep the area around your chopping block clear of debris, excess wood, and tools. A cluttered area can be a tripping hazard.
- Stable Chopping Block: The block used for splitting should be sturdy, flat, and at an appropriate height (usually waist level) to prevent strain and improve accuracy.
- No Overreaching: Place the log to be split close enough so you don’t have to overreach, which could throw you off balance.
Additional Safety Practices
- Instruction and Supervision: If you’re new to log splitting, seek instruction from an experienced person. Never allow children or inexperienced individuals to split logs unsupervised.
- Regular Tool Maintenance: Keep your splitting tools sharp and in good condition. A dull axe can be more dangerous as it requires more force and can glance off the wood.
- Weather Considerations: Avoid splitting logs in wet or icy conditions where the risk of slipping is increased.
Emergency Preparedness
- First Aid Kit: Always have a first aid kit nearby when splitting logs.
- Emergency Plan: Be aware of how to quickly get medical help in case of an accident, especially in remote areas.
By following these safety guidelines and using the recommended protective gear, you can significantly reduce the risk of injuries while splitting logs. Remember, safety is not just a practice but a mindset that should be maintained every time you undertake the task of log splitting.
How to Split Logs
Splitting logs efficiently and safely requires proper technique. Here’s a step-by-step guide to help UK homeowners master the art of log splitting:
Step 1: Prepare Your Space
- Ensure a Clear Area: Make sure your splitting area is free of tripping hazards and debris.
- Stable Base: Set up your chopping block on firm, level ground. The block should be knee-high to reduce the strain on your back.
Step 2: Choose the Right Tool
- Selecting an Axe or Maul: For most splitting tasks, a splitting axe or maul is appropriate. The maul’s heavier head makes it ideal for splitting larger or tougher logs.
Step 3: Position the Log
- Place Log Upright: Position the log upright on the chopping block. If the log has an existing crack, align your strike with it.
- Centre the Log: Ensure the log is centred on the block to prevent it from falling off when struck.
Step 4: Adopt the Correct Stance
- Feet Shoulder-width Apart: Stand with your feet shoulder-width apart for stability.
- Knees Slightly Bent: Keep your knees slightly bent to maintain balance and absorb the shock from the strike.
Step 5: Gripping the Axe or Maul
- Firm Grip: Hold the handle near the end with your non-dominant hand and near the head with your dominant hand for control.
- Adjust as You Swing: As you swing, slide your dominant hand down towards your other hand.
Step 6: The Striking Technique
- Aim and Focus: Aim at the centre or the existing crack of the log. Focus on where you want the blade to hit.
- Overhead Swing: Raise the axe or maul over your head, keeping your arms straight, and then bring it down forcefully onto the log. Use your shoulders and hips to generate power, not just your arms.
- Follow Through: Allow the momentum of the tool to follow through the log. Trying to stop abruptly can cause strain or injury.
Step 7: Handling Difficult Logs
- For Tough Knots: If you encounter a knot, reposition the log and try striking from different angles.
- Persistent Logs: For logs that don’t split on the first try, reposition and strike again. Patience and persistence are key.
Step 8: Safety Checks
- Regular Breaks: Take regular breaks to avoid fatigue, which can lead to mistakes and injuries.
- Awareness of Surroundings: Stay aware of your surroundings, ensuring no one comes near the swinging area.
Splitting logs is a skill that improves with practice. By following these steps and maintaining a focus on technique and safety, you can efficiently prepare your firewood while minimising the risk of injury. Remember, the goal is not just to split the wood but to do so in a way that is safe and sustainable.
Splitting Difficult Logs
Not all logs split easily. Some, especially those with knots, irregular shapes, or made of particularly dense wood, can pose a real challenge. Here are strategies to effectively deal with such difficult logs:
Identifying Challenges
- Knots: Wood knots are denser and harder than the surrounding wood, making them tough to split.
- Irregular Shapes: Logs that aren’t round or have uneven ends can be unstable and unpredictable when struck.
- Dense Wood Types: Woods like hickory or oak are denser and require more force to split.
Tackling Knots
- Avoid the Knot: When positioning the log, try to split around the knot. Aim your strikes in the wood’s straight-grained sections, away from the knot.
- Use a Wedge: If you can’t avoid the knot, use a splitting wedge. Drive the wedge into the wood with a sledgehammer to help force the wood apart.
Dealing with Irregular Shapes
- Create a Stable Base: If the log won’t sit steadily on the chopping block, create a flat surface by slicing off a section of the log. This can be done with a saw or by splitting off a piece with your axe.
- Work from the Edges: Start splitting from the edges of the log and work your way towards the center.
Handling Dense Wood
- Sharper Axe: Ensure your axe or maul is well-sharpened as a sharper edge can more effectively penetrate dense wood.
- More Power: Use a heavier maul or increase the power of your swing. Engage your whole body, using your legs and hips to generate additional force.
Using Tools Effectively
- Splitting Wedges: For very tough logs, use one or more splitting wedges. Drive them into the log in a line to gradually force the wood apart.
- Hydraulic Log Splitter: In cases where manual splitting is too difficult or inefficient, consider using a hydraulic log splitter. This can be especially helpful for large quantities of dense wood.
General Tips
- Patience is Key: Difficult logs often require multiple attempts. Take your time and reposition as needed.
- Safety First: Tough logs can be unpredictable. Ensure you’re wearing appropriate safety gear and maintain a clear area around your chopping block.
Splitting difficult logs can be challenging, but with the right techniques and tools, it's manageable. By understanding the nature of the wood and adapting your approach, you can effectively split even the most challenging logs. Remember, safety is paramount, so take your time and work methodically.
Alternatives to the Axe
While the traditional axe is a common tool for splitting logs, there are several alternatives that can be more suitable, especially for those with different needs or preferences. Exploring these options can make the task of splitting logs more efficient and less labor-intensive.
Mauls
- Design: Mauls are similar to axes but have a longer handle and a heavier, wedge-shaped head. They are designed specifically for splitting rather than chopping wood.
- Advantages: The heavier head provides more splitting power with less effort, making it ideal for splitting larger or tougher logs.
- Best For: Homeowners who regularly split large quantities of wood or deal with particularly tough logs.
Splitting Wedges
- Usage: A splitting wedge is a triangular-shaped tool that is driven into the log using a sledgehammer. It’s particularly useful for very tough or large logs.
- Advantages: Wedges can focus force more effectively in a specific area, making them ideal for logs that resist splitting with an axe or maul.
- Best For: Those dealing with knotty or very dense wood where an axe or maul isn’t sufficient.
Hydraulic Log Splitters
- Types: Hydraulic log splitters come in various forms, from smaller, manual models to larger, powered versions.
- Advantages: They provide a consistent and powerful splitting force with minimal physical effort. Powered models can split large volumes of wood quickly and efficiently.
- Best For: Individuals splitting large quantities of wood regularly, or those with physical limitations that make manual splitting challenging.
Electric and Gas-Powered Splitters
- Function: These splitters use an electric motor or gas engine to drive a hydraulic pump, exerting force to split the log.
- Advantages: They offer high efficiency and can handle large, tough logs with ease. They are faster than manual splitters and require less physical effort.
- Best For: Users with access to electricity or fuel who need to split significant amounts of wood.
Kindling Splitters
- Design: Kindling splitters are smaller tools designed to safely and easily split small logs or pieces into kindling.
- Advantages: They are safe and easy to use, often requiring just a hammer or small maul to operate.
- Best For: Those needing to create kindling for starting fires.
Safety and Maintenance
- Safety First: Regardless of the tool, always prioritise safety. Use protective gear and follow the manufacturer's guidelines.
- Maintenance: Keep your tools well-maintained. Sharpen and oil blades as needed, and regularly check hydraulic splitters for leaks or damage.
In conclusion, there are several effective alternatives to the traditional axe for splitting logs. Choosing the right tool depends on your specific needs, the quantity of wood you’re splitting, and personal preferences regarding effort and efficiency. By selecting the appropriate equipment, you can make the task of splitting logs easier, safer, and more suited to your circumstances.
Storing Split Logs
Proper storage of split logs is crucial for ensuring they season well and are ready to burn efficiently. In the UK, where weather conditions can vary significantly, appropriate storage techniques become even more important. Here’s some advice on storing your split logs effectively:
Ensuring Optimal Seasoning
- Elevated Storage: Store logs off the ground on pallets or racks to prevent moisture from the soil from seeping into the wood.
- Covered Top, Open Sides: Protect your logs from rain and snow with a cover or roof, but keep the sides open to allow air to circulate and facilitate drying.
- Sun and Wind Exposure: Position your woodpile in an area where it can receive sunlight and wind, which help in the drying process.
Accessibility and Convenience
- Proximity to Usage Point: Store your logs in a location that is convenient to access, especially during the colder months when you’ll be using them frequently.
- Easy Retrieval: Organise your woodpile so that you can easily retrieve logs without having to move the entire pile. This might mean having several smaller stacks rather than one large one.
Managing Different Wood Types
- Separating by Type: If you have different types of wood, consider storing them separately. Different woods have varying burning properties and may season at different rates.
- Using Older Wood First: Practice rotating your stock by using the oldest logs first. This ensures that all your wood is used at its optimal condition.
Protecting Against Pests and Rot
- Distance from Buildings: Keep your woodpile a fair distance from your home and other structures to prevent pests from easily transferring to these buildings.
- Regular Inspection: Check your woodpile periodically for signs of rot or pest infestation, and remove any affected logs to prevent the spread.
Aesthetic Considerations
- Visual Appeal: Your woodpile doesn’t have to be an eyesore. Arrange it neatly and consider its appearance as part of your garden or yard’s overall aesthetic.
- Creative Stacking: Experiment with different stacking methods that are not only efficient for seasoning but also visually interesting.
Proper storage of split logs is essential for maximizing their utility as a fuel source. By following these guidelines, you can ensure that your logs are well-seasoned, easily accessible, and stored in a way that complements the overall look of your outdoor space. Remember, well-stored wood leads to a better, more efficient burn, contributing to a pleasant and warm fire-burning experience.
Conclusion:
As we conclude this comprehensive guide to log splitting tailored for the UK audience, it’s clear that mastering this skill is not just about preparing firewood but also about embracing a more efficient and environmentally conscious approach to wood burning.
Key Points Recap
- Understanding the Need: Recognising why splitting logs is essential - for improved drying, better burning efficiency, and easier handling.
- Timing is Crucial: Knowing when to split logs, factoring in wood type, seasoning time, and UK weather conditions, is key to preparing wood that burns well.
- Choosing the Right Location: Selecting a suitable and safe location for splitting logs is vital for both efficiency and safety.
- Safety as a Priority: Adhering to safety guidelines and using appropriate protective gear is non-negotiable to prevent injuries.
- Effective Techniques: Employing the correct techniques for splitting logs, including body positioning and striking methods, enhances efficiency and reduces effort.
- Dealing with Challenges: Developing strategies to tackle difficult logs, such as those with knots or irregular shapes, ensures all your wood is usable.
- Tool Diversity: Understanding and utilising various tools, from traditional axes to modern log splitters, can make the task easier and more suited to individual needs.
- Proper Storage: Storing split logs correctly is crucial for optimal seasoning and ease of access, ultimately leading to better burning.
The Importance of Correct and Safe Log Splitting
In the UK, where wood burning is a popular method for heating and creating a cosy atmosphere, correct and safe log splitting is more than a skill – it’s a step towards sustainable living. By splitting logs properly, you not only ensure they burn more efficiently, reducing smoke and emissions, but also contribute to conserving resources by maximising the usability of the wood.
Contributing to Eco-Friendly Wood Usage
Effective log splitting and storage practices align with eco-friendly wood usage. It’s about harnessing the full potential of a natural resource in the most responsible way. This guide aims not just to inform but also to inspire UK homeowners to adopt practices that support both their personal needs and the environment.
In essence, understanding and implementing the insights from this guide can transform your experience with wood burning, making it a more efficient, enjoyable, and environmentally friendly practice. Whether for heating your home or enjoying a fire in your backyard, the art of log splitting is an invaluable aspect of the UK wood-burning culture.